You can build a genuinely useful home practice setup around a launch monitor that costs under $1,000 — provided you buy the right one for your room and expect ball data, not measured club delivery. After running budget radar and photometric units against the same swings all winter, my new-buyer advice comes down to three decisions: pick the technology your room can feed, decide which data you actually need, and ignore the spec-sheet features that do not change how you practice. This guide walks all three.
This is the practical buyer’s companion to my wider budget launch monitor guide — less about the category, more about how to actually pull the trigger without overpaying.
Decision One: Technology Before Brand
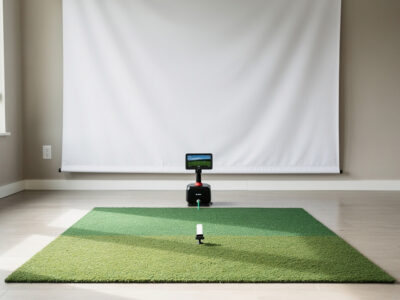
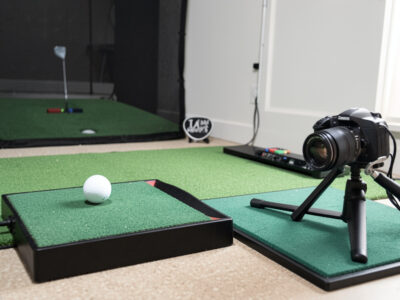
The first and most important call is radar versus photometric, because it is dictated by your room, not your preference. A radar unit wants depth — a clean read corridor behind the ball — and tolerates varied lighting, which makes it the natural pick for a deeper room and anyone who also wants to use it outdoors. A photometric unit captures at impact, so it fits a shallow room, but it wants controlled lighting and often a marked ball. I unpack the full trade in my radar vs photometric breakdown; for buying purposes, the rule is simple: deep room or outdoor use, lean radar; shallow room with good light, lean photometric.
Get this wrong and no amount of money inside the budget tier fixes it — a radar unit starved of depth or a camera unit starved of light will frustrate you regardless of brand. So before you shortlist a single model, honestly measure your space. If depth is your question mark, my room depth breakdown tells you whether a radar unit can even work where you plan to put it.
Decision Two: Which Data You Actually Need
Be honest about what you will do with the numbers. If your goal is gapping your clubs and tightening dispersion through a winter — which is most people’s real goal — then reliable ball speed and a sensible carry are most of what you need, and every credible budget unit delivers that. If you are convinced you need measured spin and club-delivery data to work on, you are describing a tier-up purchase, not a sub-$1,000 one, and it is better to know that before you buy than to feel cheated after.
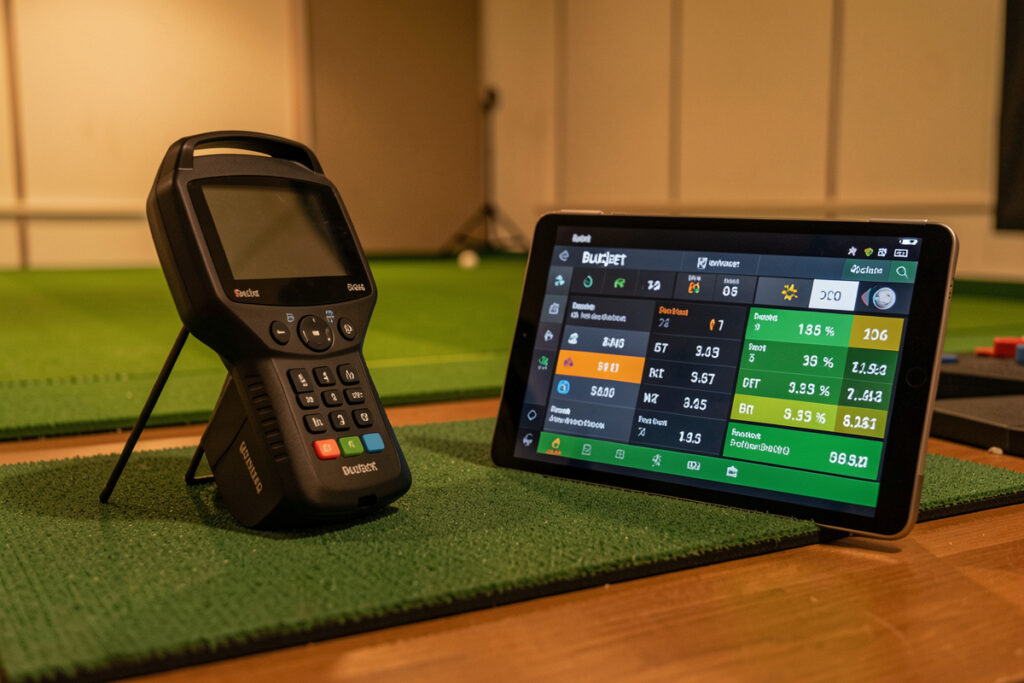
The most popular budget unit, the Garmin R10, is a good case study in setting expectations: excellent ball speed, usable carry, a strong app — but modeled spin and club numbers you treat as trends. I lay out exactly where its data is measured versus calculated in my Garmin R10 honest limits article, and that pattern holds across the budget category. Buy for the data you will genuinely use, not the data you imagine you might.
Decision Three: Features That Matter vs Filler
Spec sheets in this segment are padded. The features that genuinely change your practice are: a reliable connection to whatever device you will use, a simulator-software ecosystem you will actually play in, and the data fields you decided you need in decision two. The features that are mostly filler: long lists of derived data points the unit models rather than measures, marketing accuracy figures you cannot independently verify, and “tour-level data” cadence that means nothing at this price.
One feature genuinely worth weighing is the subscription model. Several budget units gate their best simulator or practice features behind an ongoing subscription, which changes the true cost of ownership and matters even more if you later consider a used unit, where a subscription may not transfer. Factor the subscription into the price, not just the sticker. And remember the data-trust rule throughout: read budget output as a cloud, never a single precise point.
The other feature worth real attention is the simulator software the unit plays into, because that is where the winter hours actually happen. A monitor with a thriving software ecosystem — and if you are narrowing down to the two most popular budget options, the direct Garmin R10 vs MLM2Pro comparison cuts through the spec-sheet noise with real-world usage findings — courses you want to play, practice modes you will use, the ability to share a session with friends — earns its keep on the nights you would otherwise not bother. A monitor with thin or clunky software gets shelved no matter how good its raw numbers are. So weigh the ecosystem as heavily as the data, especially if your goal is to keep a swing alive through a long off-season rather than to micro-tune mechanics. The unit you enjoy using is the unit that improves your game.
Finally, be realistic about what “accuracy” claims mean in this segment. Marketing pages quote accuracy figures you usually cannot independently verify, and at the budget price those numbers describe best-case center strikes in ideal conditions, not the mishits and tired late-session swings that make up real practice. I do not buy on quoted accuracy at all; I buy on whether the unit’s measured fields cover what I need and whether its setup demands fit my room. That is a far more reliable filter than any number on a box.
The Buy I Would Make
If I were starting today with under $1,000 and a deeper room, I would buy a budget radar unit, give it a proper read corridor, and use it for gapping and dispersion all winter. With a shallow room and controllable light, I would buy a budget photometric unit and commit to marking balls and fixing the lighting. Either way I would spend whatever is left on the mat, screen, and room rather than climbing toward the next monitor tier — because a budget unit in a good room beats a pricier unit in a bad one, every time. Size the room first with my room requirements guide, then buy the cheapest unit that measures true.
As an Amazon Associate I earn from qualifying purchases. Links below are to product searches, not specific listings.
For the radar road, a portable radar launch monitor is the most-bought budget option; for the camera road, a budget photometric launch monitor suits a shallow, well-lit room. Whichever you choose, a solid golf hitting mat keeps your strike position consistent so the data stays honest.
Frequently Asked Questions
What is the best launch monitor under $1,000?
There is no single best; the right pick depends on your room. Deep rooms and outdoor use favor a budget radar unit, while shallow rooms with controllable lighting favor a photometric one. Decide the technology your space can feed first, then choose a specific unit inside that category based on the data you will actually use.
Can a launch monitor under $1,000 give accurate data?
Yes for the things that matter most: ball speed and the overall shape of your dispersion are reliable enough to practice against. Spin and club-data fields are often modeled at this price, so treat them as trends. Used as a relative instrument for gapping and consistency, a budget unit is genuinely accurate enough.
Should I get radar or photometric on a budget?
Match it to your room. Radar needs depth for a clean read corridor and tolerates varied lighting, suiting deeper rooms and outdoor play. Photometric fits a shallow room but wants controlled lighting and often a marked ball. Choosing the technology your space supports matters more than the brand.
Do budget launch monitors require a subscription?
Some do. Several units gate their best simulator or practice features behind an ongoing subscription, which raises the true cost of ownership. Factor any subscription into your budget, and check transferability if you later consider buying used, since subscription access does not always move with the hardware.
What features actually matter on a cheap launch monitor?
A reliable device connection, a simulator-software ecosystem you will use, and the specific data fields you need. Long lists of modeled data points and unverifiable accuracy claims are mostly filler. Buy for how you will practice, not for the longest spec sheet.
Related Guides
- Budget launch monitor guide — the full category overview
- Radar vs photometric budget monitors — the technology fork
- Garmin R10 honest limits — the most-bought budget radar unit
- Golf simulator room depth — whether radar fits your space